Quick answer
To receive a fax on an iPhone, use a fax service with an active receiving setup, give the sender the exact fax number, wait for the incoming fax notification, and verify the complete document in the app.
An iPhone does not listen for fax tones like a physical fax machine. To receive a fax, you use a service that accepts the transmission through a fax number and makes the resulting document available in its app. FaxPrime provides the in-app workflow used in this guide; always check the current app for the exact receiving options available to your account.
The sender still sends to a fax number. Your phone is where you see, review, and manage the incoming fax after the service receives it.
How incoming fax works on an iPhone
There are three parts to the process:
- A receiving setup is active in the fax app or service.
- The sender dials the fax number associated with that setup.
- The service converts the transmission into a document and places it in the app.
Your iPhone does not have to be connected to a telephone cable. It does need internet access when you open or download the received pages. Depending on notification settings, the app may alert you when a new fax is ready.
Receiving availability, number assignment, supported regions, and subscription requirements can change. Confirm those details inside the current app rather than relying on an old article or screenshot.
Step 1: Confirm your receiving setup and fax number
Open FaxPrime and locate the receiving or fax-number area. Confirm that the setup is active and copy the displayed fax number carefully. If the number includes a country or area code, include it exactly as shown when you share it.
Do not give a sender a number from memory until you have checked it in the app. If your plan, account, or number has changed, an old fax number may no longer route documents to you.
It is also worth confirming what name or reference the sender should place on the cover sheet. A clear routing note helps you identify the fax later and reduces confusion when several documents arrive around the same time.
Step 2: Give the sender precise instructions
Send the fax number through a trusted channel. Ask the sender to verify the number before transmitting and to tell you:
- The approximate sending time.
- The number of pages, including the cover page.
- The sender or organization name.
- A non-sensitive subject or reference you can recognize.
For private paperwork, avoid repeating medical, financial, legal, or identity details in an ordinary text message just to identify the fax. A case number or agreed reference may be enough.
If the sender is outside the fax number’s country, they should use the international format supported by their fax system. The sender—not the recipient—usually controls how their equipment handles access prefixes and outside-line rules.
Step 3: Watch for the incoming fax notification
Make sure iPhone notifications are allowed if you want timely alerts. In iOS Settings, find FaxPrime under Notifications and choose the alert style that fits your needs. Notification wording and controls can vary by iOS version.
A notification is a convenience, not the only record of delivery. If you expect an urgent incoming fax, open the app and check the fax list directly. Focus modes, disabled alerts, network conditions, or system settings can delay or hide an on-screen notification even when the document is available.
Step 4: Open and verify every received page
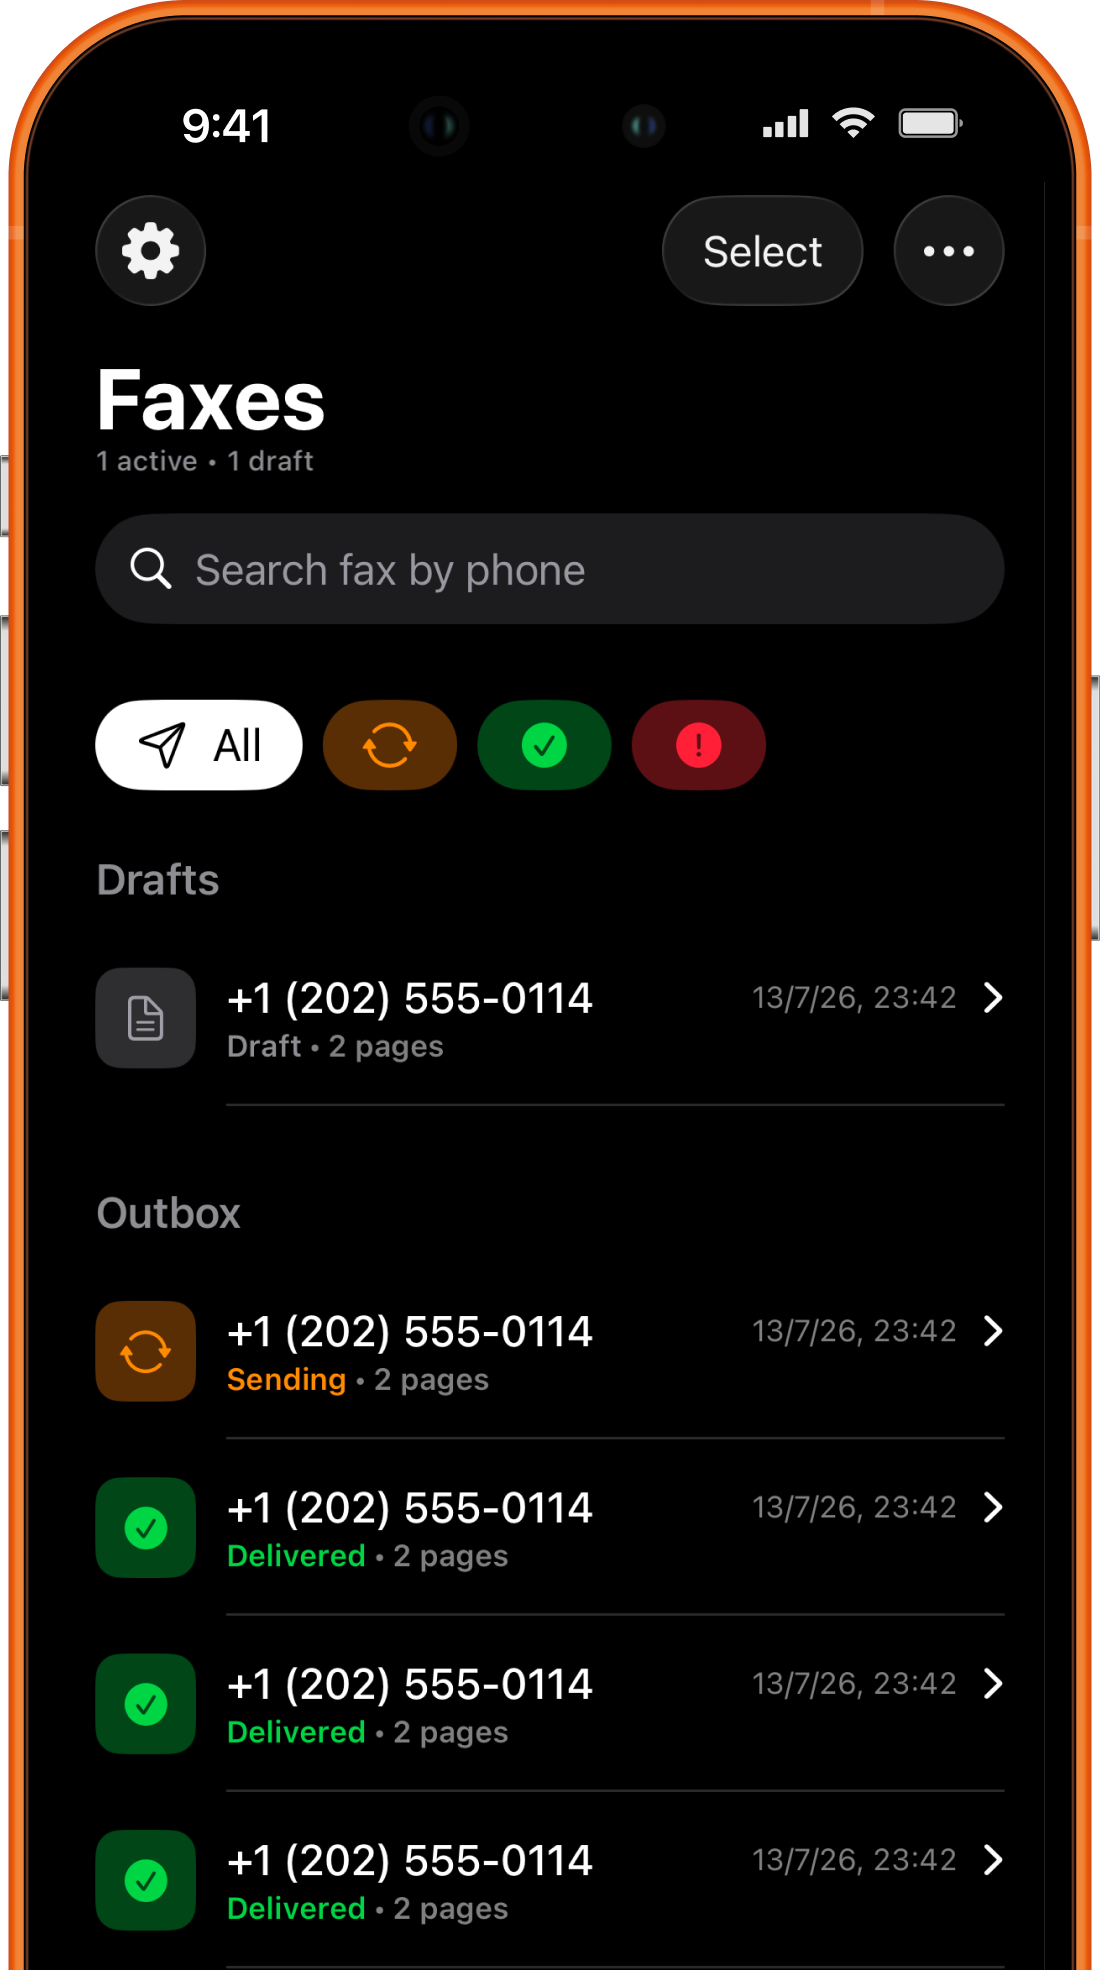
When the incoming fax appears, open it and compare it with the sender’s page count. Review the first and last pages, then scan through the entire document. Look for blank pages, missing sections, clipped edges, heavy lines, or unreadable text.
Check these details before confirming receipt:
- The sender matches the person or office you expected.
- The page count is complete.
- The pages belong to the same transmission.
- Important text, signatures, and dates are readable.
- The document is intended for you.
If the fax was sent to you by mistake, do not forward or use it. Follow the sender’s or your organization’s privacy procedure. If you are not sure what to do, contact the verified organization without exposing the contents.
Step 5: Save and organize the document
Use a descriptive name or reference when the app offers one. A title such as “Document 3” becomes difficult to recognize later; a date plus a safe subject is more useful. Keep related transmissions together and distinguish received documents from versions you later edited or sent back.
Store only the copies you actually need. If you export a received fax to Files or another location, understand that you now have an additional copy to protect. The security of the fax app does not automatically extend to email, shared folders, backups, or other services.
For important records, preserve enough context to identify where the document came from and when it arrived. The useful record may include the fax number, timestamp, page count, and the original received file.
What to do when an expected fax does not arrive
Start with facts rather than asking the sender to resend immediately.
Check the fax number. Compare the exact number you shared with the number the sender used. Confirm the country and area codes digit by digit.
Check the sender’s result. Ask whether their fax system reported delivered, failed, busy, or still pending. “We sent it” is not the same as a completed transmission.
Refresh the app and connection. Make sure the iPhone has internet access, then reopen the fax list. Check that you are signed into the expected account and that the receiving setup remains active.
Allow processing time. A long document or busy receiving path may not appear instantly. Use the urgency and deadline to decide when to escalate, but avoid creating several duplicate faxes without a plan.
Try a controlled resend. If the first attempt failed, correct the confirmed cause before trying again. Ask the sender to label the new cover page “Resent” and include the original date so duplicates are easy to spot.
If the sender reports successful delivery to the correct number but nothing appears, collect the transmission time, destination, page count, and non-sensitive confirmation details before contacting support.
Privacy and notification habits
An incoming fax can contain information you would not want displayed on a locked screen. Review the notification preview setting in iOS and choose whether message details should appear when the phone is locked. This is particularly important on shared devices or in workplaces where screens are visible to others.
Use a device passcode and keep iOS current. Do not hand an unlocked phone to another person to “check the fax” if the inbox contains unrelated private documents. Export or share only the intended file, and verify the destination before sending it onward.
A fax workflow may be part of a regulated business process, but an app alone does not define your legal or compliance obligations. Your organization may require approved accounts, retention rules, access controls, or documentation beyond the transmission itself.
Frequently asked questions
Does my iPhone need to stay on to receive a fax?
The service, not the iPhone’s telephone hardware, accepts the fax. Your phone needs a connection when you want to receive an alert or open the resulting document. Check the service’s current account and number requirements for continued receiving availability.
Can someone send a fax to my mobile phone number?
An ordinary mobile voice number is not automatically a fax number. Give the sender the fax number shown by your receiving service, not your personal phone number, unless the service explicitly tells you otherwise.
Why did I not receive a notification?
Notifications may be disabled, filtered by a Focus mode, hidden on the lock screen, or delayed by connectivity. Open the app and check the incoming fax list directly, then review iOS notification settings.
Can I sign a received fax and send it back?
Yes, when the app workflow supports editing or signing the document. Review the received pages first, add only the intended signature or marks, then verify the outbound number. Follow the scan, sign, and fax workflow for the complete review process.
How do I prove when a fax arrived?
Keep the original incoming record and any timestamp or transmission details shown in the app. If formal proof is required, ask the organization what evidence it accepts; a screenshot by itself may not satisfy every process.